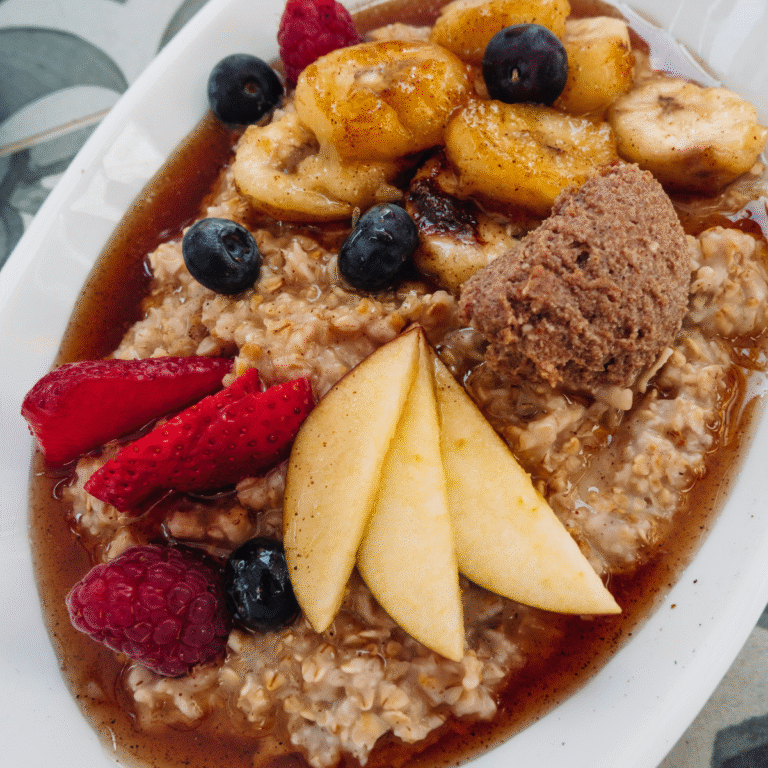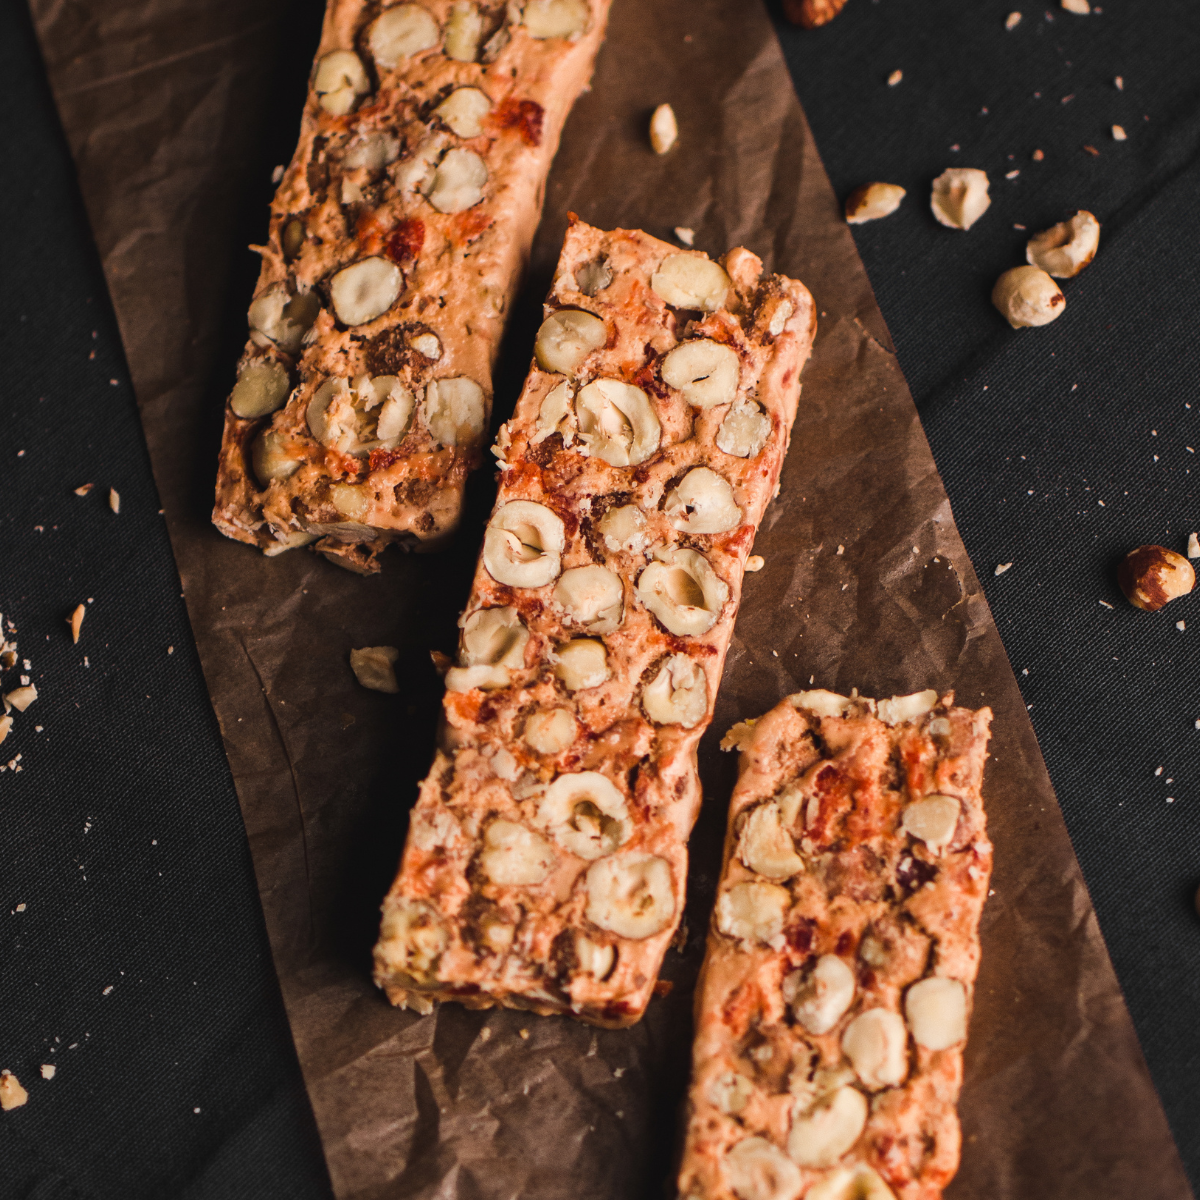
Swap out those store-bought bars for a truly delicious and satisfying homemade version. These no-bake protein bars are packed with the incredible flavors of toasted hazelnuts and sweet-tart dried cherries, all bound together in a chewy, satisfying base. They are the perfect grab-and-go breakfast, post-workout refuel, or healthy afternoon snack to power you through your day. You’ll love how easy they are to make and customize!
Prep Time: 15 mins
Total Time: 1 hr 15 mins (includes chilling time)
Servings: 12 bars
Ingredients:
For the Hazelnut & Cherry Protein Bars:
- 1 cup Raw Hazelnuts
- 1 1/2 cups Vanilla Protein Powder
- 1/2 cup Oat Flour, (you can make your own by blending rolled oats)
- 3/4 cup Dried Cherries, roughly chopped
- 3/4 cup Creamy Cashew Butter, (or almond butter)
- 1/2 cup Maple Syrup
- 3 tbsp Coconut Oil, melted
- 1 tsp Vanilla Extract
- 1/4 tsp Sea Salt
- 2-4 tbsp Milk of choice, (as needed to achieve a dough-like consistency)
Instructions:
- Prepare Pan: Line an 8×8 inch baking pan with parchment paper, leaving an overhang on two sides to use as handles for easy removal.
- Toast Hazelnuts: Preheat your oven to 350°F (175°C). Spread the hazelnuts on a baking sheet and toast for 10-12 minutes, until fragrant. Let them cool slightly, then rub them in a clean kitchen towel to remove most of the skins. Roughly chop the nuts.
- Mix Dry Ingredients: In a large bowl, whisk together the vanilla protein powder, oat flour, and sea salt. Stir in the chopped toasted hazelnuts and dried cherries.
- Combine Wet Ingredients: In a separate, microwave-safe bowl, combine the cashew butter, maple syrup, and melted coconut oil. Heat for 30-45 seconds, until warmed and easy to stir. Whisk until smooth, then stir in the vanilla extract.
- Form the Dough: Pour the wet mixture into the bowl with the dry ingredients. Mix with a sturdy spatula or your hands until a thick, uniform dough forms. If the mixture seems too dry or crumbly, add the milk one tablespoon at a time until it comes together.
- Press into Pan: Transfer the protein bar mixture to your prepared pan. Place a piece of parchment paper on top and use your hands or a flat-bottomed glass to press the mixture down very firmly and evenly. A compact bar holds together better.
- Chill Until Firm: Place the pan in the refrigerator to chill for at least 1 hour, or until the bars are firm to the touch.
- Cut and Serve: Use the parchment handles to lift the block from the pan. Place on a cutting board and slice into 12 bars. Enjoy your delicious, homemade fuel!
Recipe Notes:
- Protein Powder Matters: The type of protein powder you use (whey, casein, or plant-based) can affect the texture. Plant-based and casein powders tend to absorb more liquid, so you may need the full amount of milk.
- Get it Packed: The secret to bars that don’t crumble is pressing the mixture into the pan as firmly as possible. Really put some pressure on it to compact everything together.
- Nut Butter Swaps: Cashew butter provides a neutral, creamy base, but almond butter or even sunflower seed butter for a nut-free version would also work wonderfully.
- Customization is Key: Feel free to swap the hazelnuts and cherries for other nuts and dried fruits. Almonds and dried apricots or pecans and dried cranberries are fantastic combinations.
- Storage Instructions: These bars are best stored in an airtight container in the refrigerator, where they will keep for up to 2 weeks. Layer them with parchment paper to prevent sticking.
There you have it – incredibly tasty, chewy, and nourishing protein bars that you can feel great about eating! This simple, no-bake recipe will become your go-to for healthy snacking and meal prep. We hope you enjoy the boost of energy and flavor in every bite! Happy mixing!
Estimated Nutritional Information (per bar)
Calories: 295; Protein: 14g; Fat: 16g (Saturated Fat: 5g); Carbohydrates: 26g (Sugar: 15g); Fiber: 4g.
Disclaimer: Nutritional information is estimated and can vary depending on specific ingredients, brands, and serving sizes used. This information is provided for guidance only and should not be considered a substitute for professional medical or nutritional advice.